

How to setup Universal Links for iOS in React Native
TL;DR
This post explains how iOS Universal Links work and what is required to implement them. It covers how to handle incoming links in an iOS app, how to create and configure the Apple App Site Association (AASA) file, and how to correctly host the file so that iOS can securely associate a domain with an app and route matching URLs from the web into the app.
Who should read the post?
Software Developers who plan to integrate this feature into their app.
People in tech with little to no experience on Universal Links who want to learn something new.
Introduction
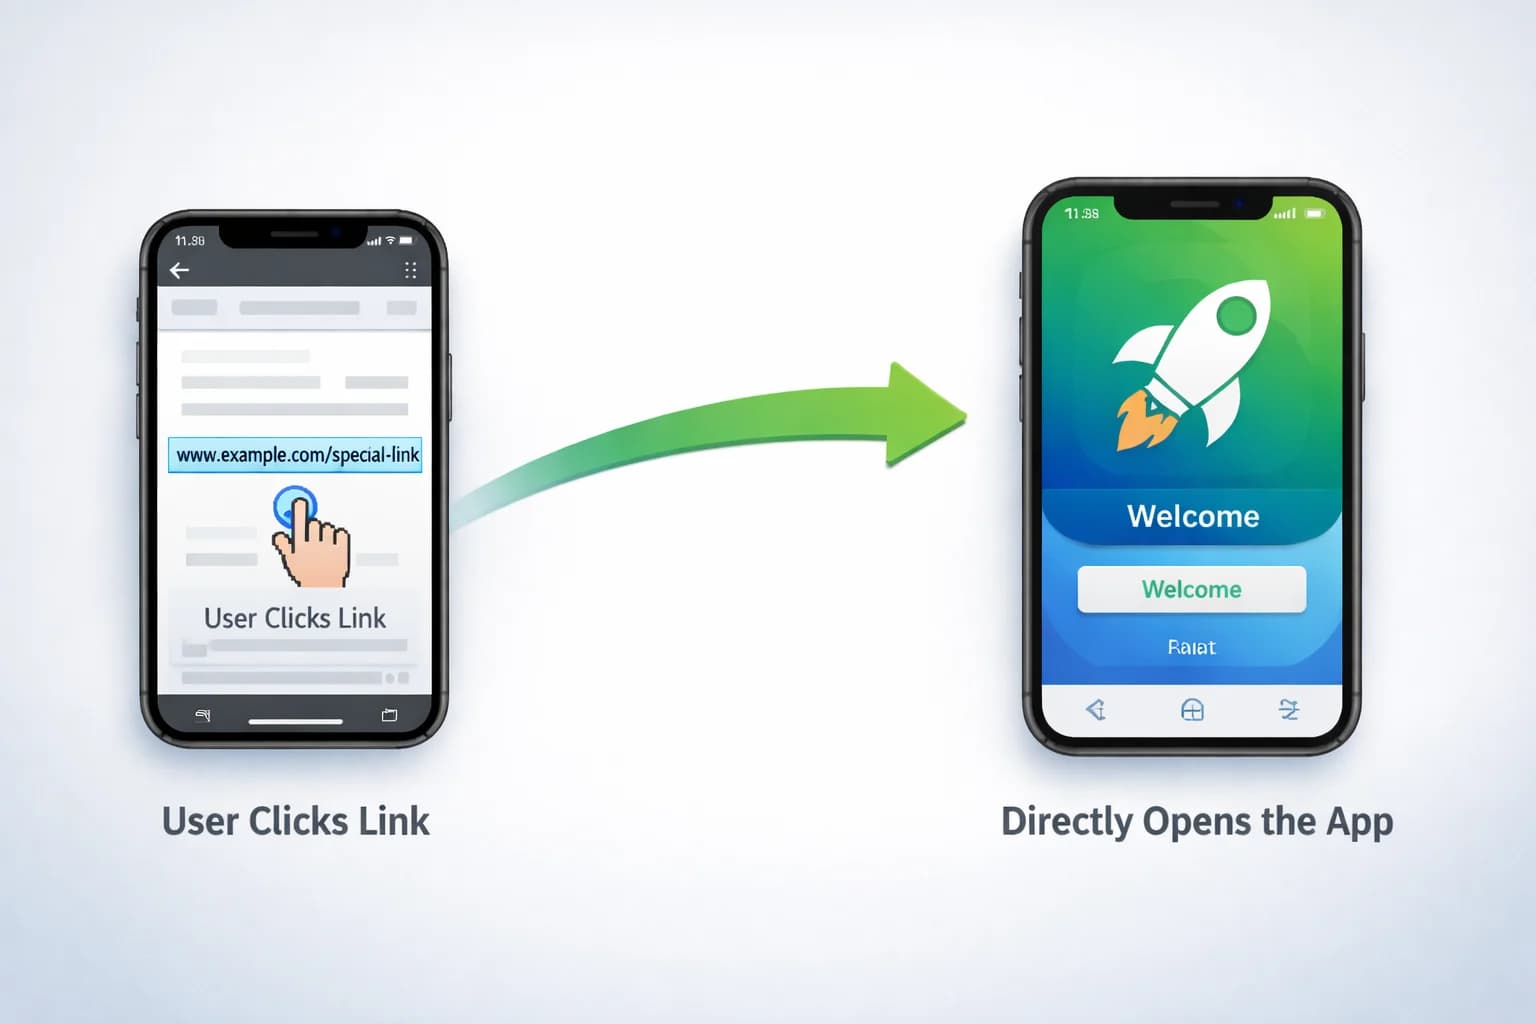
Have you ever tapped on an ad or email link and been taken directly to the desired application without seeing a website or pop-up asking for permission? That seamless transition from the web to the app isn't magic; it's powered by Universal Links.
Universal Links allow iOS (or Android) to open your app automatically when a user taps a specific URL belonging to a domain you control. If the app is installed, the link opens the app. If it isn't, the same link simply opens in the browser. This behaviour becomes a powerful tool for ads, emails, deep navigation, onboarding flows, and the overall user experience.
Despite how seamless they feel to users, it requires careful configuration across your iOS app and backend. For developers encountering them for the first time, the setup process can be surprisingly strict and easy to misconfigure.
This post will cover the steps required to make Universal Links work on iOS.
Configure your iOS app to handle incoming links.
Creating the Apple App Site Association (AASA) file.
Hosting the AASA file under the /.well-known path.
By the end, you will have a better understanding of how to set up an application to support Universal Links, which will give you a head start if you plan on integrating this feature into your software.
Configuring your iOS app to handle incoming links
The first step is ensuring that your iOS app knows how to react when someone taps a Universal Link. Although Universal Links originate on the web, iOS redirects them to the app via the App Delegate. This makes the App Delegate the central point where your app decides how to handle an incoming URL. Options include opening a specific screen, triggering navigation, or passing parameters deeper into your React Native layer.
When a Universal Link is activated, iOS calls two native methods:
scene(_:continue:)for apps using the modern Scenes APIapplication(_:continue:restorationHandler:)for older setups
Your job is to implement at least one of these and route the received URL into your code.
Here’s a simplified example using the SceneDelegate, which is common in React Native projects:
// SceneDelegate.swift
func scene(_ scene: UIScene, continue userActivity: NSUserActivity) {
    guard userActivity.activityType == NSUserActivityTypeBrowsingWeb,
          let incomingURL = userActivity.webpageURL else { return }

    // Pass the link to React Native
    RCTLinkingManager.application(UIApplication.shared,
                                  open: incomingURL,
                                  options: [:])
}
If your project still relies on the AppDelegate, the equivalent version looks like:
// AppDelegate.m (Objective-C)
- (BOOL)application:(UIApplication *)application
            continueUserActivity:(NSUserActivity *)userActivity
              restorationHandler:(void (^)(NSArray *))restorationHandler
{
  return [RCTLinkingManager application:application
                      continueUserActivity:userActivity
                        restorationHandler:restorationHandler];
}
This implementation ensures your React Native app receives the link through the Linking API, where you can listen for it:
import { Linking } from 'react-native';

Linking.addEventListener('url', ({ url }) => {
  // Handle navigation here
});
At this point, the native layer is ready — your app can now receive Universal Links.
Next, we’ll prepare the website side of the handshake by creating the AASA file so iOS knows your app is authorised to handle those links.
Creating the Apple App Site Association (AASA) File

Now that the app can receive Universal Links, the next step is to convince iOS that your domain is allowed to open your app. This is where the AASA file comes in.
At a high level, the AASA file is a JSON document on your website that tells iOS:
which app(s) belong to your domain
which URL paths those apps are allowed to handle
whether you support features like Shared Web Credentials or Universal Links
When a user installs your app, iOS automatically fetches the file from your domain. If the file is valid and correctly formatted and located in the expected place, iOS registers your app as the handler for all matching paths.
AASA File Structure
Below is the minimal structure iOS expects in an apple-app-site-association file and how each section influences link handling:
{
  "applinks": {
    "details": [
      {
        "appIDs": ["ABCDE12345.com.example.app"],
        "paths": ["/products/*", "/profile/*"]
      }
    ]
  }
}
The paths are obviously the paths from the app that should trigger the universal link behaviour.
The appID is formed by: <Application Identifier Prefix>.<Bundle Identifier>.
The Application Identifier Prefix is visible in the Apple Developer portal under Membership or in Xcode by choosing your project → Signing & Capabilities → selecting your team. The Bundle Identifier comes from the same Xcode section and uniquely identifies your app (e.g., com.example.app).

Add the Associated Domains Entitlement to Your App
iOS will only validate the AASA file if your app explicitly declares the domain associated with it. To do this, enable the Associated Domains capability in Xcode and add an entry such as:
applinks:<your-domain>.com
This links your app to the domain so iOS knows where to retrieve and verify your AASA file.

Hosting the AASA File under the /.well-known path.

For iOS to recognise your Universal Links, the AASA file must be publicly accessible at:
https://your-domain.com/.well-known/apple-app-site-association
iOS automatically fetches this file during app installation to verify the domain-app association. Hosting it in any other path or behind redirects will cause verification to fail, so serving it correctly is critical for Universal Links to work.
The file must be served directly, without any HTTP redirects (including 301, 302, or 307). iOS will not follow redirects when attempting to fetch the AASA file, and even a redirect from http to https can cause the verification to fail.
Additionally, the response must be served with the correct Content-Type header:
Content-Type: application/json
The AASA file must be accessible over HTTPS, contain valid JSON, and be served as a raw file—not wrapped in HTML, compressed, or generated dynamically in a way that alters the response headers.
Because the requirements are strict and vary depending on your hosting provider or backend setup (e.g. Nginx, Apache, S3, Firebase Hosting, or a custom server), it’s easy to get this step wrong even if the file itself is correct.
In later posts, we’ll walk through concrete, step-by-step examples of hosting the AASA file correctly on different infrastructures and how to debug common issues when iOS fails to recognise your Universal Links.
Conclusion
Although Universal Links can seamlessly transition users from the web to your app, they only work when all the necessary components are correctly configured. Once your app and domain are properly associated, iOS can reliably determine whether to open your app or fall back to the browser when a link is clicked.
This post focuses on the core concepts needed to understand how Universal Links work. Follow-up posts will provide concrete setup examples and highlight common mistakes to avoid when implementing them.